Measuring a vehicle for stickers requires precision to ensure that the final design fits perfectly and looks visually appealing. Follow these detailed instructions to measure your vehicle accurately
Tools You Will Need:- Measuring tape (preferably a flexible fabric measuring tape or a metal measuring tape)
- A notepad and pen or a digital device to record measurements
- A level (optional for flat surfaces)
- Painter's tape (optional for marking areas)
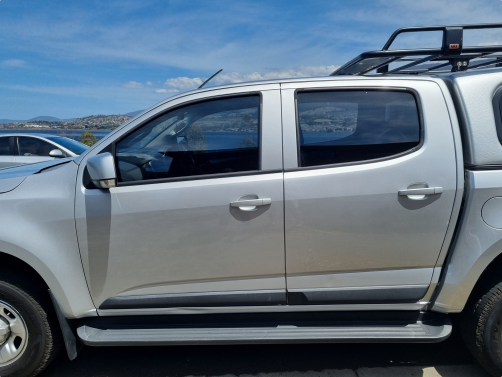
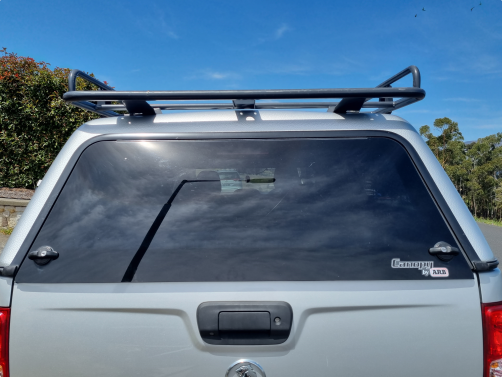
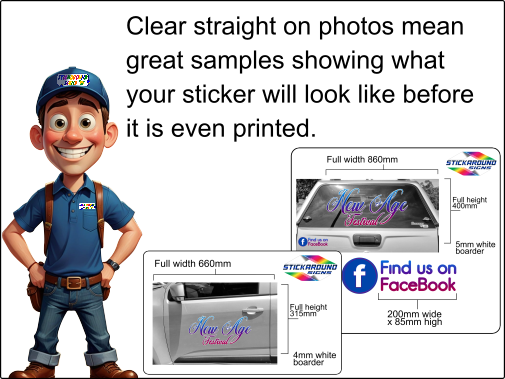
Clear, Straight-On Photos of all sides of the vehicle, avoiding angles, for accurate scaling.

Steps to Measure Your Vehicle
1.Select the Area for the Sticker: Determine where you want to place the stickers on your vehicle (e.g., bumpers, windows, sides, hood, etc.).
2. Measure Length For horizontal stickers (e.g., on the hood or doors), measure the length of the area where you want to place the sticker.
Use the measuring tape to find the widest point of the area. Record this measurement in inches or centimetres, depending on your preference.
3. Measure Height: For vertical stickers (e.g., on windows or doors), measure the height of the area you intend to cover.
You might want to measure from the bottom edge of the surface to the top edge of the desired sticker placement.Record this measurement as well.
4. Account for Curves and Contours: If your vehicle has curved surfaces (like the hood or fenders), measure at multiple points to determine the average width or height.
For curved surfaces, it can be helpful to use painter’s tape to outline the area and then measure the length of the tape to get a more accurate representation of the space available.
5. Consider Additional Features: Pay attention to any obstructions that could affect sticker placement, such as door handles, seams, or light fixtures.
Measure the distance from these features to ensure that they are accounted for in the sticker design.
6. Check for Alignment: If planning multiple stickers or a design that relies on symmetry, make sure to measure both sides of the vehicle to ensure alignment.
Measure from the centre line of the vehicle to both sides to keep everything uniform.


7. Take Multiple Measurements: It’s good practice to take multiple sets of measurements and compare them for accuracy.
This is particularly important when measuring larger areas or if the vehicle’s shape is complex.
8. Document Your Measurements: Create a clear written record or digital note of all measurements. Include notes on the surface type (e.g., glass, metal) as this will affect sticker material selection.
Final Tips: Be Patient: Take your time when measuring; accuracy is key. Use Two People: If possible, having one person hold the measuring tape can help get more accurate measurements, especially for larger vehicles.
Visualise Placement: Use the painter's tape to visualise where the sticker will go. This way, you can adjust your measurements based on the visual impact before finalising them.


